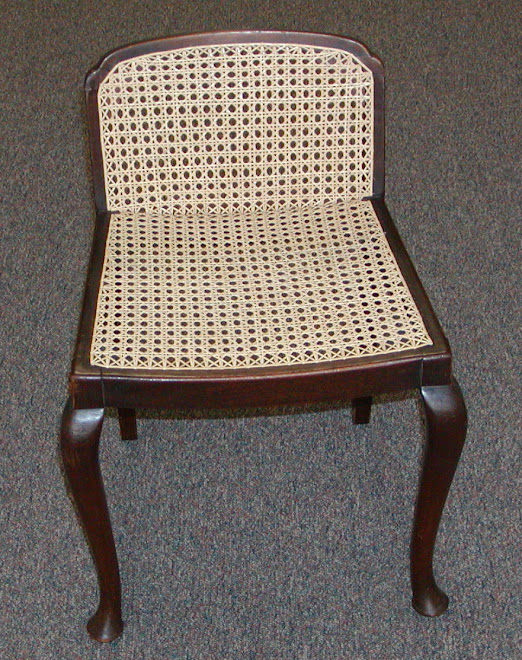
Before!

Here is a chair I prepped for new cane. I cut out the old cane and spline. I'll demonstrate that another time. Here you see the cane with the materials I ordered from H. H. Perkins company. One sheet of cane slightly larger than the area to be caned and a length of spline the right size for the groove. The Perkins employees are very good at determining the materials needed for a chair. Just have the chair and a tape measure handy when you phone in your order. After you get more experience and know what you need you can order online.

These are the tools I use for pressed cane work.
Wedges can be bought from a caning supplier or if you know someone with a band saw you can get them made. Failing that, disassembling clothes pins makes for perfectly adequate wedges. See the shim on the right hand side? You can buy a pack and shorten them but they tend to be too narrow and you have to use several to lock the cane in place.
An old mallet is used to tap the wedges into the groove A hammer will do but your wedges will last longer with the mallet which can be made from a piece of 2X4 and a piece of old broom handle. It doesn't have to be pretty!
A knife, (the sharper the better) and a chisel are used for trimming the cane and cutting the spline.

My soaking units are a large bucket and a piece of capped PVC pipe screwed down to a piece of plywood. If you are doing just one chair the bucket will suffice. No need to buy all the stuff I use if it's a small job, and you're not going to do it all the time.
Be sure to use hot water as the cane will soften faster. I do a lot of these chairs and the advantage of the pipe is...

I just drop the cane in the water, I don't use as much water and if the cane is bigger that the bucket I don't have to fold it to get it under water.

You can push in a short piece of leftover spline to keep the roll from surfacing.
Soak it until the cane is soft but not long enough to darken. 15 to 30 minutes should be enough.
The spline needs to soak only about a minute. We don't want it to swell. If that were the case it would shrink when it dried. Not what we want at all.

The cane has soaked enough the be flexible and not brittle. Note the string on the front of the cane? Pull it out and the 2 strands behind it.

Turn the sheet 180 degrees so the prepared end is at the back.

Now line it up with the char and peg it at the back. Tap the peg in gently so as not to break the cane. Put the peg where you prepared the cane.

Keeping the sheet aligned, cut the cane around the outside of the seat frame. Use shears or scissors. The better your tools the easier the job will be.

Keeping the sheet aligned, peg at the front. In the picture I cut the cane a bit short. See how I have pulled out strands that are completely outside of the pattern inside the groove.
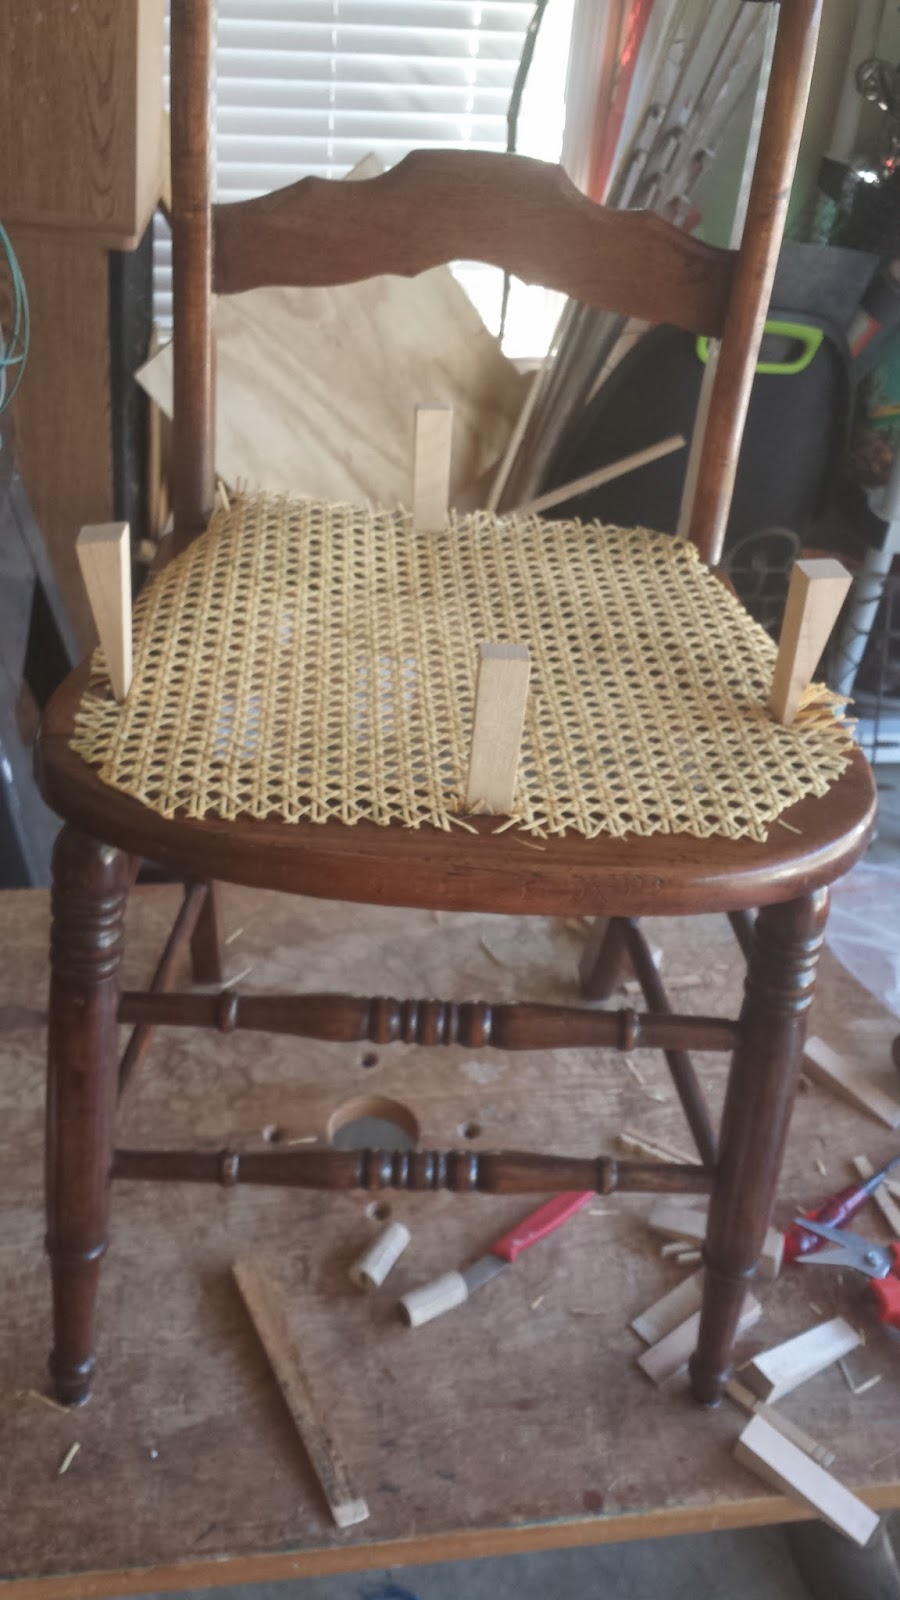
Now peg the sides, still making sure the sheet of cane is even with the seat frame. I use the front glue joint that joins the seat front to the two side pieces as my reference point keeping the same pair of horizontal strands even with it. Now, using another peg and the mallet gently tap the cane in all around.

Now we can trim out the excess cane. We can remove the wedges at this point.
Carefully using a sharp knife and/or a sharp chisel cut off any protruding strands of cane.

I use an old paring knife that I accidentally broke the tip off of. Serendipity! It has the advantage of having a flat tip that I can use to push the cane back into the groove if it pulls up while I am cutting it. That happens often. I give mine a few licks on a sharpening stone just before starting to cut. Sometimes the knife can't reach a strand. That's when the chisel comes into its own.

Keep cutting until it's all done. Don't use more force than necessary. We want to keep our fingers whole!

Carefully run a bead of glue along the whole groove. Do not fill the groove with glue. Leave room for the spline. You can take a small paintbrush and evenly spread the glue. I usually use several strands of excess cane dragged through the groove to spread it.

Tap the spline into the groove starting at the center of the back. I use a rubber mallet for this so it won't dent the spline. When it's all the way around I mark where I want to cut it with my knife. You can just see the incision.

Next I slide a shim (available in packs at the hardware store and useful for all kinds of things) under the incision to protect the chair and my work. I saw the knife back slightly undercutting the end of the spline.

You can see the slight undercut.

Tap it in the rest of the way. Make sure the spline is at even height all around, and cut off any fine tendrils that might be trailing off the seat. Allow the cane to dry slowly out of the sun.
The cane does not take stain well. The spline soaks it up better than wood.
It's better not to stain the cane. Staining seals, and sealing allows moisture out but not in. Your cane seat will sag after a few months of use, and when that happens you can rub it down with a wet rag, let it dry slowly again and it will tighten back up. Staining removes this property. The cane will darken with age but it will take years.

After!
No comments:
Post a Comment